Last updated on June 12th, 2023 at 06:09 am
Are you tired of always digging through your pantry searching for one ingredient? Do you find yourself constantly buying duplicates because you can’t see what you already have? It’s time to organize your pantry with deep shelves! Follow these simple steps to make the most out of your pantry space no matter how small your kitchen is and keep your ingredients easily accessible.
1. Clear out your pantry
The first step to organizing your pantry is to clear it out completely. Take everything out of your pantry and sort it into categories such as canned goods, baking supplies, snacks, etc. Decluttering will make it easier to see what you have and what you need to organize.
2. Clean your pantry
Once your pantry is empty, give it a thorough cleaning. Wipe down shelves, sweep or vacuum the shelves, and get rid of any expired or stale items.
3. Measure your shelves
Before you start organizing, measure the depth of your shelves. This will help you determine what size containers and bins will fit best.
4. Use containers and bins to group like items
Grouping like items together not only makes it easier to find what you need but also creates a tidy and organized look. Use different storage containers or bins to store items like baking supplies, snacks, and pasta. Label each container so you can quickly identify what’s inside.
5. Utilize shelf risers
If you have deep shelves, shelf risers are a great way to maximize your space. They allow you to create multiple levels on each shelf, giving you more room to store items.
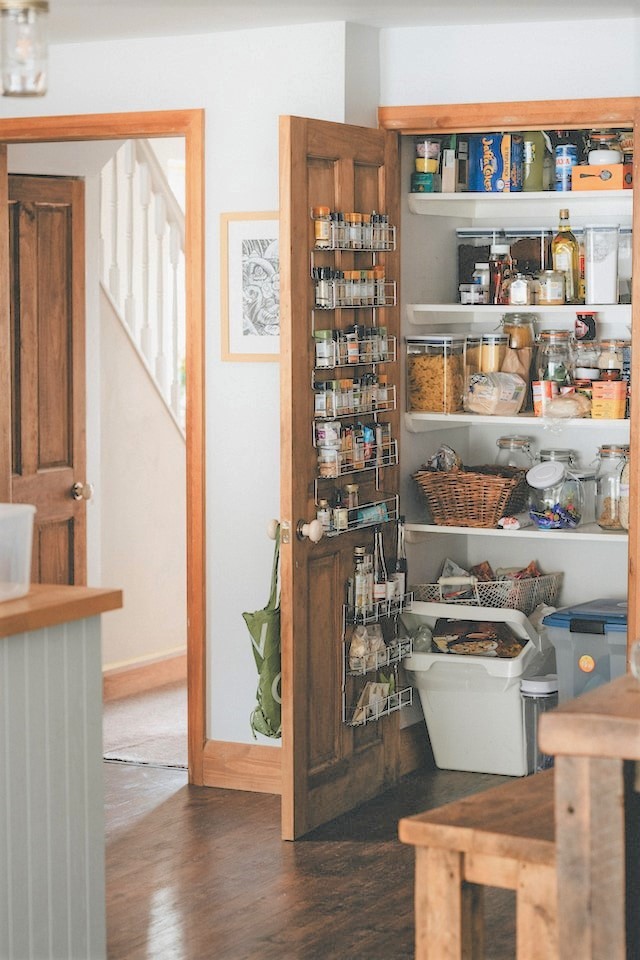
6. Install door organizers
The back of your pantry door is often an overlooked storage space. Install door organizers to hold items like spices, snacks, and condiments. This will free up space on your shelves and make it easy to access frequently used items.
7. Keep it tidy

Once your pantry is organized, commit to keeping it tidy. Regularly check for expired items and reorganize as needed. It’s also helpful to take inventory of your pantry before going grocery shopping to avoid buying duplicates.
How to Organize Pantry Shelves
First things first, start by emptying your pantry shelves and taking stock of what you have. You might be surprised to find that you have duplicates of certain items or that some items have expired. This is a great opportunity to declutter and get rid of anything you no longer need.
Next, group similar items together. For example, keep all your canned goods in one section, baking supplies in another, and snacks in a third. This makes it easier to find what you need and prevents you from buying duplicates.
Invest in some storage containers and labels. Clear containers are ideal because you can see what’s inside them, and labels help you quickly identify what’s in each container. Use containers of different sizes to fit items of different shapes and sizes.
When arranging items on your pantry shelves, think about accessibility. Keep frequently used items at eye level and within easy reach. Items that are used less frequently can be placed on higher or lower shelves.
Don’t forget to utilize all the space you have, including the back of the door. Hang a door organizer to store spices, snacks, or other small items.
Organizing your pantry shelves might seem like a daunting task, but with these tips, you can easily create a functional and organized space. Taking the time to organize your pantry will save you time and frustration in the long run and make meal prep and grocery shopping a breeze.
Pantry Organization List

Are you looking to turn your pantry into a functional and efficient space? Here is a pantry organization list with some helpful tips to get you started:
- Clear out expired items
- Categorize items
- Use clear containers
- Label everything
- Utilize vertical space
- Consider a lazy susan
- Keep a shopping list
Pantry Organization Categories: How To Organize Your Pantry By Category
Organizing your pantry by category not only saves you time and money but also helps you maintain a clean and efficient kitchen. Here are some pantry organization categories to get you started:
1. Grains and pasta
First up, grains and pasta! This category can include rice, quinoa, oats, pasta, and any other grain or grain-based product you may have. Consider storing these items in clear containers or jars so you can easily see what you have and how much is left.
2. Canned goods
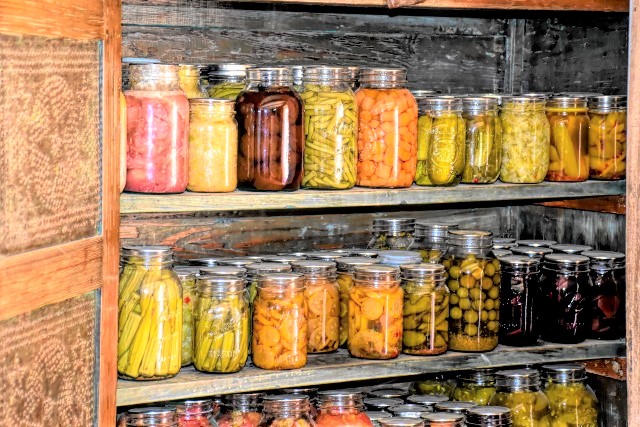
Next on the list, canned goods! This category can include canned vegetables, fruits, beans, and soups. Group them and label them so you know exactly what’s inside. Also, consider storing them on a lazy susan for easy access.
3. Baking supplies
For all you bakers out there, this category is for you! Baking supplies can include flour, sugar, baking powder, baking soda, and any other dry ingredient you may use for baking. Use clear containers or jars to store these items and label them with the name and expiration date.
4. Snacks
Who doesn’t love a good snack? This category can include chips, crackers, nuts, and any other snack you may have. Store them in clear containers or baskets so you can easily see what you have and when you need to restock them.
5. Spices
Spices are the key to adding flavor to your meals. This category can include all your spices, seasonings, and herbs. Store them in a spice rack or drawer organizer so you can easily find what you need.
6. Sauces and condiments
Last but not least, sauces and condiments! This category can include ketchup, mustard, soy sauce, and any other sauce or condiment you may have. Group them in a storage container and store them in a designated area of your pantry.
How To Organize Your Pantry Without Containers
Instead of relying on containers, try using baskets or bins to group similar items. For example, you could have a basket for all your baking supplies, another for snacks, and another for canned goods. This not only makes it easier to find what you’re looking for, but it also adds a touch of style to your pantry.
Another great way to organize your pantry is to use shelf risers. These handy little tools allow you to double the amount of storage space on a single shelf. Plus, they make it easier to see everything on the shelf, which means no more forgotten cans of soup hiding in the back.
Finally, consider labeling everything. This may seem like an extra step, but trust me, it’s worth it. Labeling your baskets and bins not only makes it easier to find what you’re looking for but also helps you keep everything in its proper place.
