Last updated on June 13th, 2023 at 04:29 am
Small kitchens, too, need pantries. Decluttering, cleverly organized cabinets, and other space-saving tricks can only get you so far. Sometimes you need more spots to stash groceries, extra cookware, small appliances, etc.
Is your tiny kitchen lacking in the pantry department? Creating a pantry in a small kitchen will add space to stash all the stuff you need in a kitchen to make it useful. Here’s a roundup of small pantry ideas to free up space in your kitchen.
1. Squeeze In a Small Pantry
When it comes to creating a pantry in a small kitchen, the most obvious solution is to squeeze in a slim pantry. Go for a standalone rolling unit that fits the space between the gaps in your kitchen. You can line up your snacks, pasta, soup cans, etc., on the slim shelves.
2. Install Floating Shelves
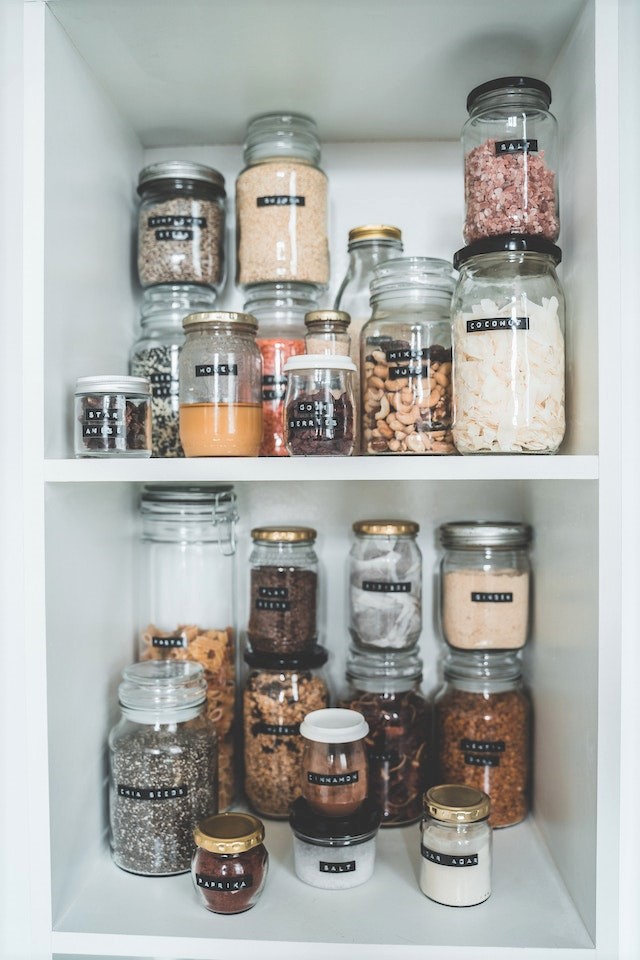
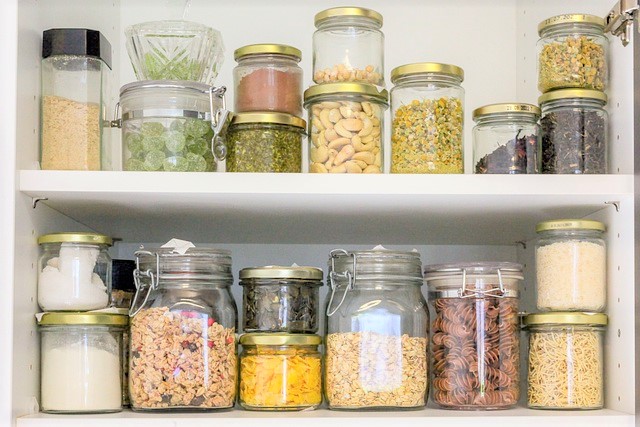
If there’s absolutely no room for a pantry in your kitchen, consider other solutions. For instance, you can utilize corner spaces in your kitchen to install floating shelves. Use pretty baskets and jars to contain pantry staples.
3. Repurpose Cabinet Space
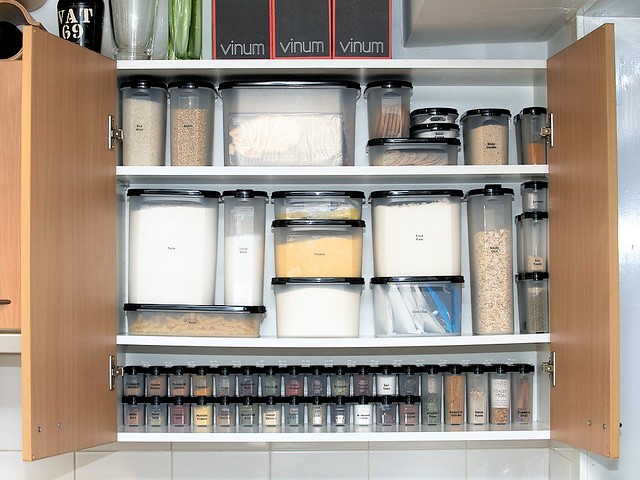
If your kitchen lacks a pantry but has significant cabinet space, consider repurposing a whole cabinet to use as a pantry. Within the repurposed cabinet space, sort your dry goods by category to keep your small pantry organized.

4. Add a Corner Pantry Cabinet
When it comes to small spaces or inconvenient room layouts, the corner areas come in pretty handy. For instance, corner pantries are an excellent storage solution for a small kitchen.
The best way to take advantage of corner space in your kitchen is by adding a corner pantry cabinet. Corner pantry cabinets are ideal for kitchens with limited space. There are plenty of options; just pick one that fits snugly into one of the corners of your kitchen.
5. Add Shelving
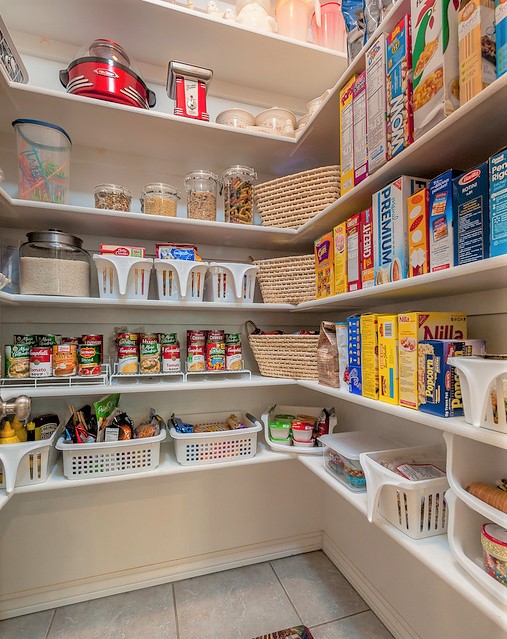
Another way to utilize unused corner space is to add shelving. Instead of a traditional pantry, hang a handful of floating shelves in a corner to hold everyday items such as snacks or teabags. Put the items in matching bins or jars to keep your corner pantry organized.
6. Get a Lazy Susan
If you have a corner with unutilized space underneath your countertops or corner pantry cabinet, consider installing one of those turntables that rotate to distribute food for easy access. This old-school pantry organizer is known as a Lazy Susan.
7. Use a kitchen cart
Sometimes, building a pantry or installing additional cabinets in your kitchen isn’t an option. In this case, you have to devise more creative ways to maximize the space you already have.
Instead of a pantry, invest in a kitchen cart that goes wherever it’s needed. You can fill different racks with spices, seasonings, and other pantry items. Simply roll the cart in a corner or against the wall when you’re not using it.
8. Use clear bins on high shelves
Buy clear containers and use them to store snacks and other pantry staples on high shelves. Clear containers make it easier to spot and reach for whatever you are looking for without using a step ladder.
9. Use cube storage
Using cube storage is another inventive way to keep your pantry staples organized without a pantry. You can even use a few cube storage systems to create an entire storage unit without building a pantry wall.
Building a Pantry into a Wall
If you don’t have a built-in pantry or just need extra storage in your kitchen, you can add pantry shelves to a wall to create a pantry wall. Below, we’ll walk you through building a pantry into a wall.
Gather necessary supplies
You’ll need some tools and materials to build a kitchen pantry that works for you. Here’s a list of the supplies you need to build a pantry into a wall.
- Lumber
- Finish-grade plywood
- Hammer or brad nailer
- Carpenter’s level
- Measuring tape
- Table saw or circular saw
- Pencil
- Screws
- Dust and fume masks

Select the ideal spot
The first step is to find the perfect spot for your kitchen pantry. Ideally, the location should be cool, dry, and easy to access. This should vary depending on your kitchen layout and the space you have available.
Take your measurements
Using the measuring tape, level, and pencil, measure and mark vertical placement using pantry items as a guide. Measure the back and side walls, and don’t forget to account for the thickness of the shelf frame.
Locate the wall studs
The next step is to locate and mark the wall studs. You’ll need to fasten your pantry shelves to these studs. Otherwise, your newly installed pantry shelves won’t be sturdy enough to hold your pantry staples.
Cut, assemble, and mount frames
Next, cut frame pieces from the lumber based on the size of your pantry shelves. Assemble each shelf frame by screwing through the backboards and placing each backboard against the wall to mount the frames.
Cut and mount shelf pieces
Use a table saw to cut shelf pieces out of the finish-grade plywood. Use the dimension of the frames to determine the dimensions of the shelf pieces. Put the shelves in place and use a hammer or brad nailer to secure them to the frames.
Apply finishing touches (optional)
The final step to building a pantry is applying the finishing touches to your newly installed shelves. You can choose to paint or stain your pantry shelves. Be sure to wear a mask rated for fumes when painting or staining your pantry shelves.

No Pantry in Your Kitchen? No Problem!
Many kitchens are not large enough to accommodate a full pantry. The solutions above will help you make the most of your tiny kitchen. Here, you can find a creative solution that works for you, even if you are working with a limited budget (and even tighter space).
